Functionality and Design Finished
Posted on: March 28, 2011
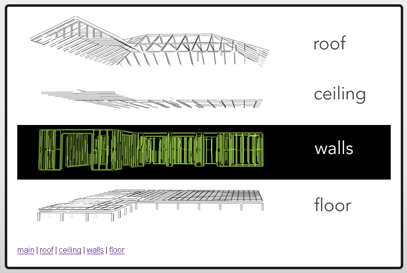
Today we completed the design and functionality of the 3d construction resource. It will live in two different structures. The first will be a small website that has a main menu outlining the building and then link to the 4 different parts of the building – floor, walls, ceiling and roof.
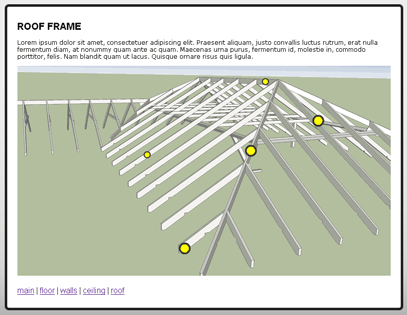
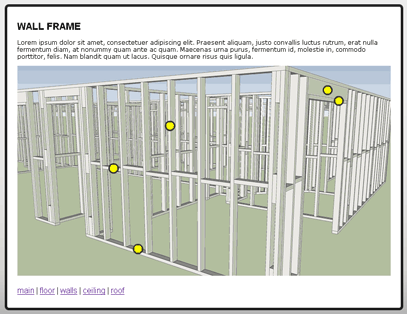
The second will be the 4 individual parts existing on their own making them small, portable and injectable to wherever they would like to be used. Each part will consist of a 3d panorama with hotspot rollovers that describe the component of the frame that is being viewed.
Each individual part will also have a link to the original 3d sketchup model that can be used by teacher or students in other ways to create other learning resources, such as video screencasts, images or even build onto.
I will be adding a new part to the blog outlining some ideas on how these resources can be re-used in other ways. If you have ideas already, please feel free to add comments to this blog.
Starting to build the interactivity
Posted on: March 7, 2011
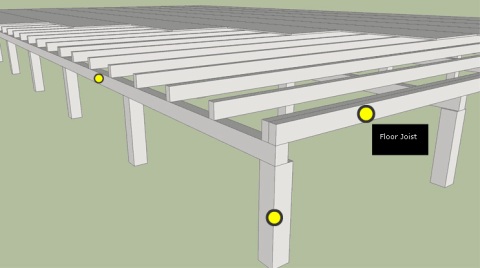
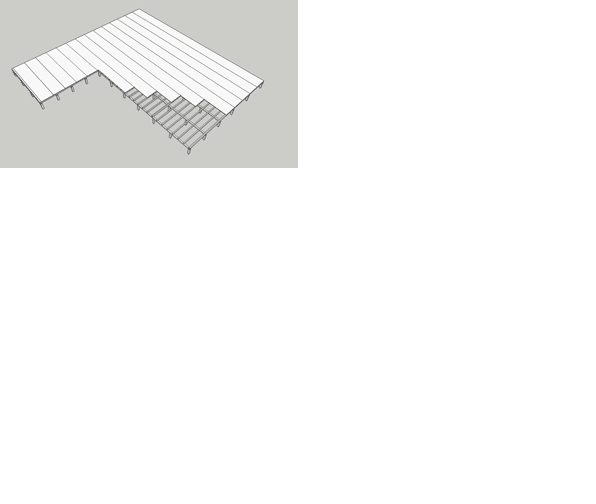
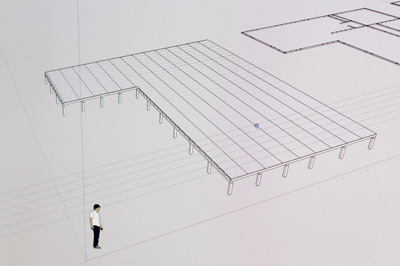
Today we completed the hot-spots for most simple part of the house, the Floor frame. This model does not have a great amount of hots-spots. Placing the interactive hot-spots is a process of key-framing each spot over the model frame by frame so that they follow the model around in the perceived 3d space. This is time consuming and a little dull, but very rewarding once completed.
This first example is now a flash swf that the user can interact with. The user can rotate around a predetermined path and hot-spots can be hovered over or selected (clicked). The hover state displays a tooltip to the user. This tooltip contains a short description of what part of the frame the user is looking at. Some of these hotspots will have an option to click and display further information such as an image or further description if required for that part of the frame.
3D Models completed
Posted on: February 23, 2011
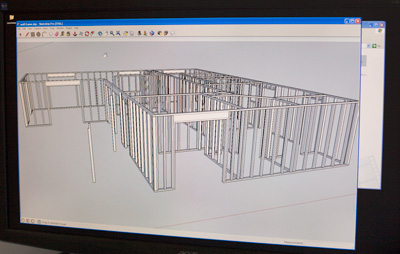
Scott has managed to complete all of the models required for the project.
We now have the following:
- Sub Floor
- Wall Frames
- Ceiling
- Roof
The models look perfect, very detailed with plenty of scope for adding information and hots-spots.
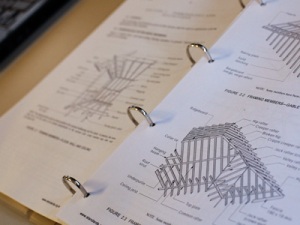
Scott has printed out diagrams from the 4 models that have been labelled with the components of the models. These components will become interactive hot-spots in the flash application that we are building. The next big job for multimedia will be to import these models into flash as sequenced image animations, that will be controlled by the user.
Progress with models
Posted on: February 16, 2011
Models are looking Great
Scott is doing a fantastic job with the sketchup models. They are of a very high quality and very accurate to measurement. Scott is currently working on the most complex model which is the framework for the houses walls. Can’t wait to animate this model and integrate some learning.
Trialling animation
Posted on: February 15, 2011
Trialling Animation
When I first tried SU Animate I thought it would be the ideal solution, but it isn’t. If you want to do spin-arounds or or panoramas it works fine. I have found when trying to do more complex paths it does a good job, but the problem is the targeting of the camera. I can only get it to focus on one group or item which means it is really difficult if you want to look at a more than one specific point in the building’s framework. So I went back to using the default animation tools in Sketchup and these are getting the required results.
Sketchup Animation Quality
After rendering our first series of frames we found that the output quality is not great straight out of Sketchup. It has lots of jaggies and the jpg compression is very lossy. One way of overcoming this is to purchase a rendering engine which we haven’t looked into. If you don’t want to spend money on a rendering engine, there are some simple things you can do to get a good render out of Sketchup.
- Render the video or still images to a resolution twice that of it’s final destination size and then resize down in Photoshop or appropriate image or video editing software. This eliminates the jaggies and gives a smoother image.
- Save as png image sequence rather than jpg or avi.
This is a sample of our first animation that will be imported as an image sequence into our flash application.
Engines are go!
Posted on: January 17, 2011
What are we doing?
Scott Haselden a building teacher from Kangan came to us with an idea to build 3d models of the components that make up a house frame. Traditionally this learning is in 2D print. The virtual house frame will give new learners the opportunity to learn from an interact with a building in a safe environment. It also will provide opportunity to learn in their own time and place.
Scott will be using Google Sketchup to build the models for the project. From the multimedia side we will be building panoramas or walkarounds of these models that allow learners to interact with the different parts and identify the components that make up that part of the house frame.
Hey Ho Let’s Go!
We began working on the Interactive 3D construction project yesterday. Scott Haselden from the BNE department at Kangan Institute, has been given a 2 week block to work with us here in LR&D at Kangan. We are going to use this 2 week block to get the bulk of the work done in a productive fashion. Scott has already completed on of the five models for the project. I will be doing most of the multimedia work that will bring the 3d models into an application that will allow users of the application to identify parts of a house frame. From a multimedia perspective we, have worked out how we will create the application, just need to try it out with one of the Sketchup models.
Animating a Sketchup model
Sketchup has very basic animation tools, but they don’t meet the needs of the project. After some searching yesterday we found some software titled “SU Animate”. We downloaded the 10 day trial version and it seems to do what we need. This plugin allows you to draw simple paths such as an ellipse that circles an object. You can then attach a Sketchup camera to that path and target the camera at your object. From this simple process we can then create a video or series of still images that show the object from all angles as the camera moves around. SU Animate also allows you to draw out complex vector paths that could you walk you in, out, over and around a house for example. This may come in handy if we need more than a 360 degree panorama. There is a small problem with the software, which is that the purchase option on their website is linking to an incorrect page with a different product that they sell. I will be contacting the site to find out how we can purchase the full version, which is a round the $60US price range. Till then we will use the 10 day trial as best as we can.
